contact@ziontech.com
408 434 6001
Integrating the OUD and EUS: User Identities in the OUD
To integrate the Oracle Unified Directory (OUD) with Enterprise User Security (EUS), the following has to be performed:
- Configuring EUS for an OUD server
- Modifying the OUD Configuration for EUS
- Configuring the Oracle Database for the OUD
Configuring EUS for an OUD server
EUS can be configured for an OUD server using one of the following options:
- Enabling EUS during instance creation
- Enabling EUS for an existing instance
This post outlines steps for enabling EUS during instance creation.
Assumptions:
- OUD base product binaries are already installed.
- A WebLogic domain is created for ODSM.
- An instance has yet to be created or a new instance will be created for EUS.
To setup an OUD instance using GUI:
- Change to the ORACLE_HOME sub directory for OUD (i.e., where you have installed the software)
cd OUD-base-location

Ensure that your JAVA_HOME environment variable is set.
- Run OUD-setup; this will create an OUD instance.
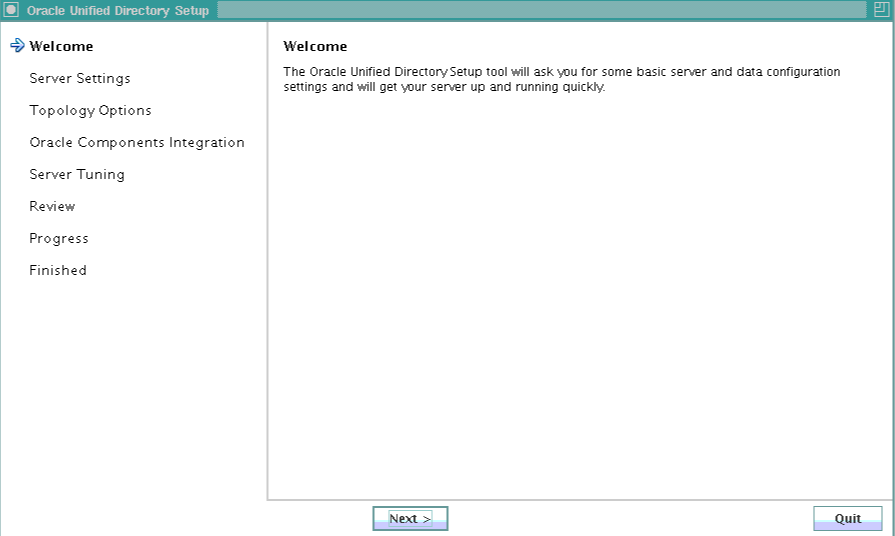
- Click Next on first screen.
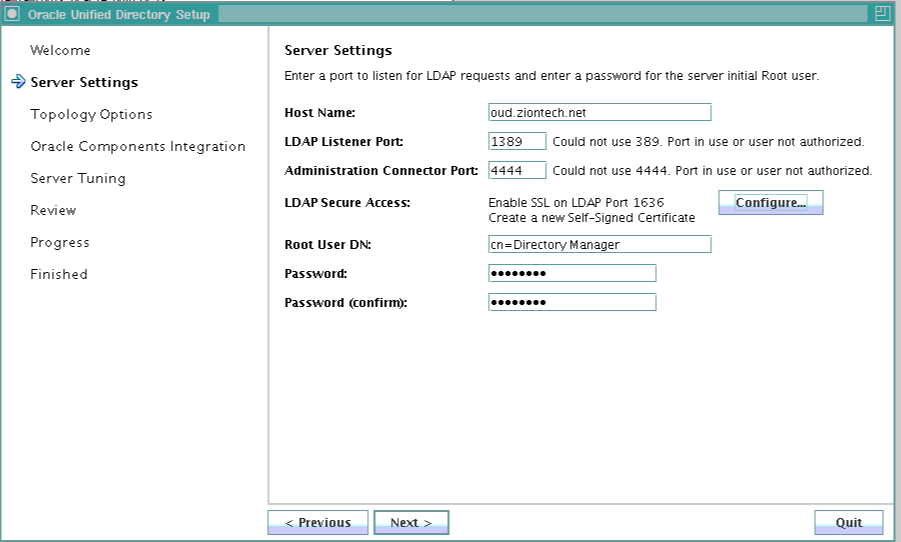
- Provide details for the server settings.
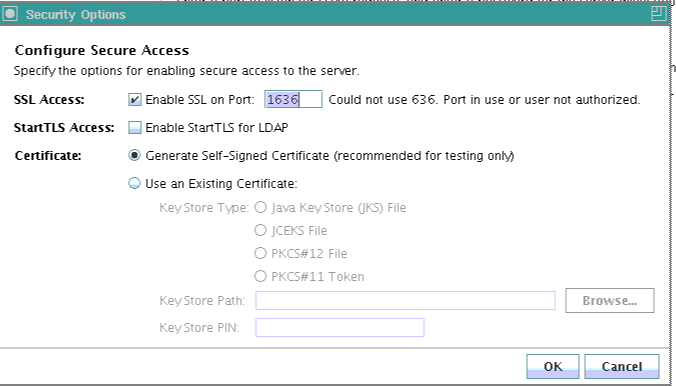
- Since enabling EUS requires an SSL, configure an SSL.
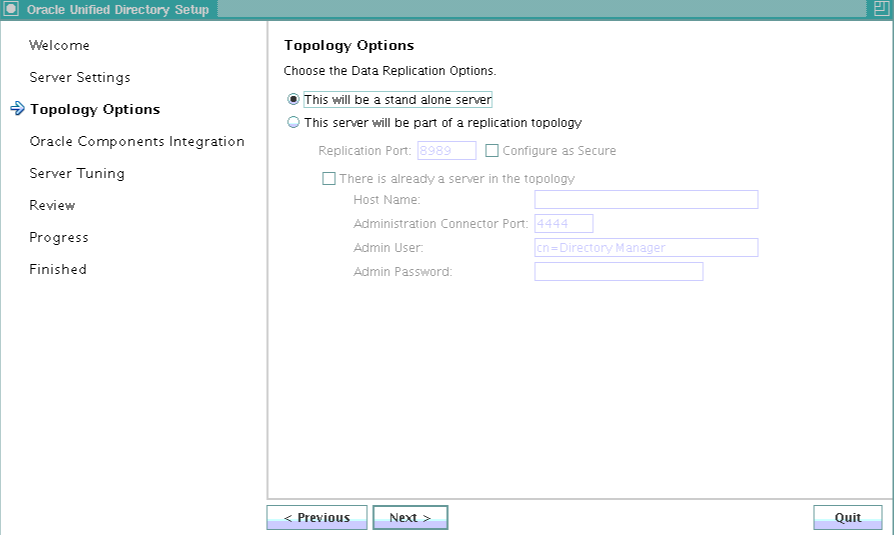
- Select your topology, if required.
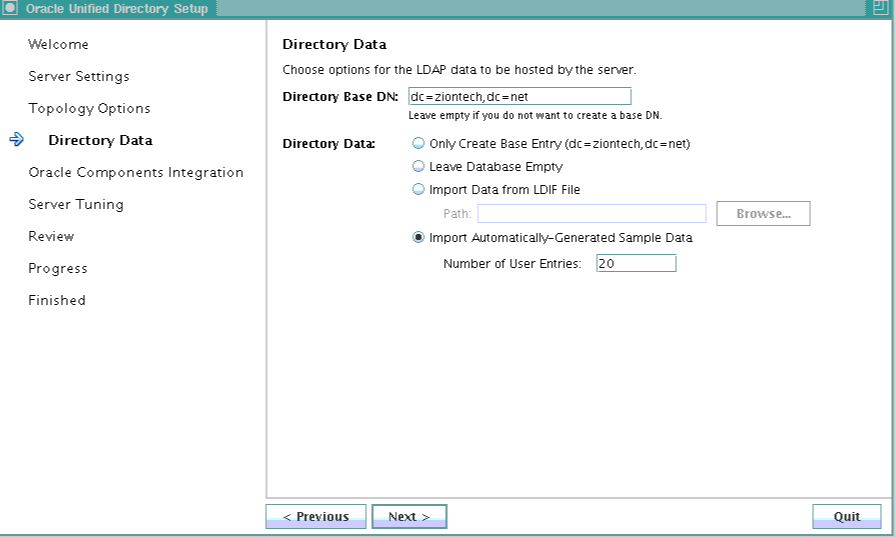
- Provide the base DN details.
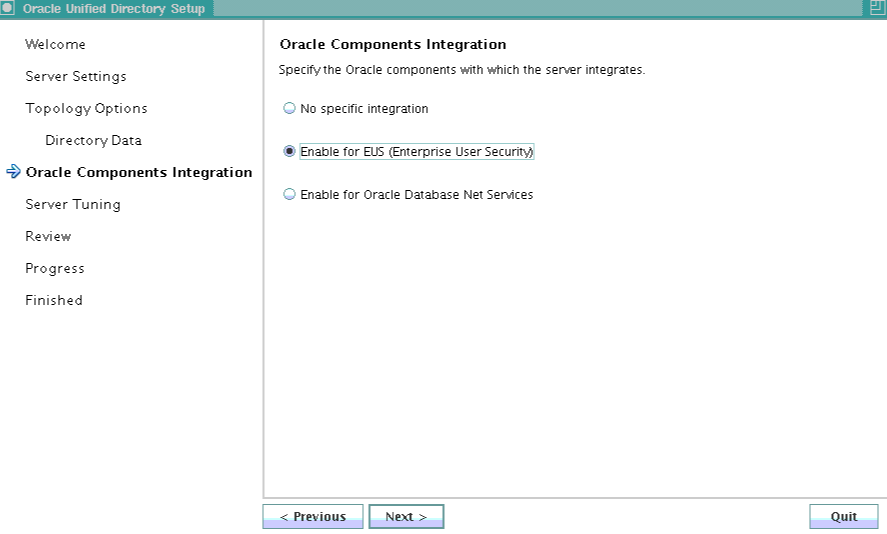
- Select Enable EUS on Oracle Components Integration screen; click Next.
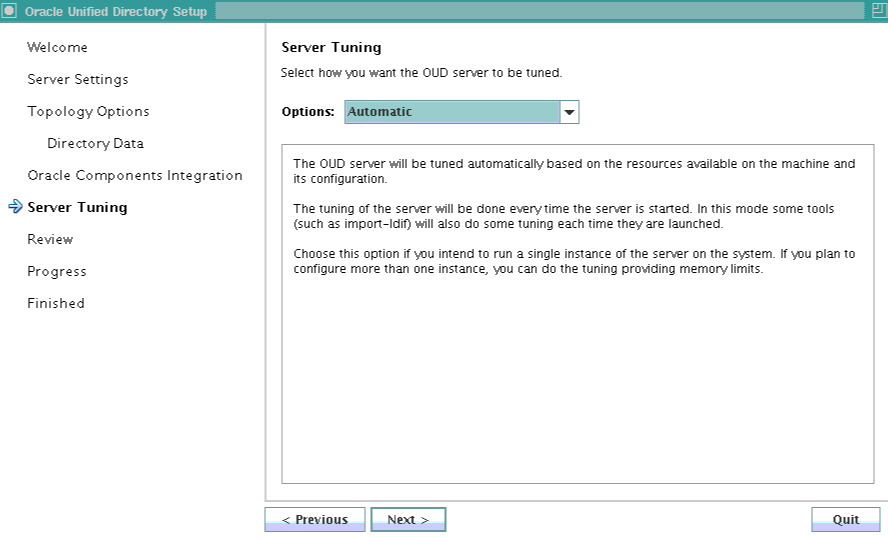
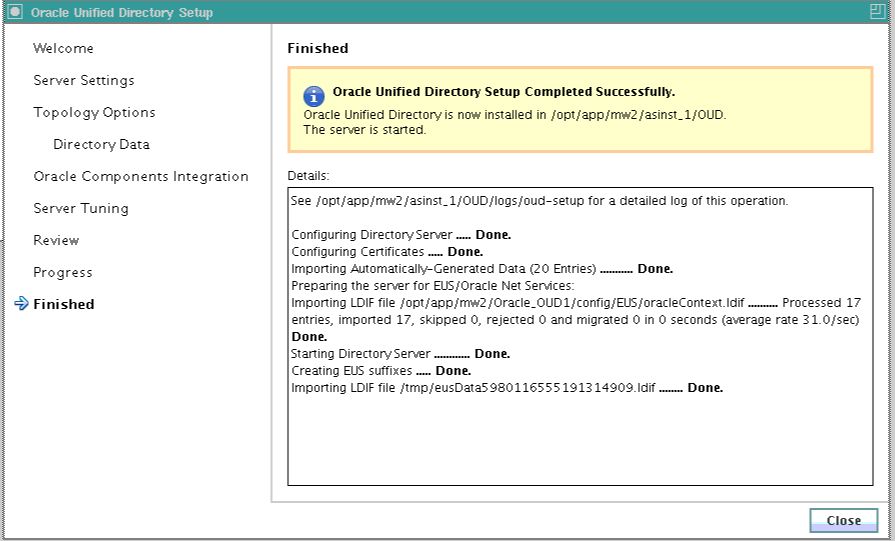
- Review your configuration details; click Finish.
Screenshots for reference:

Login to ODSM
- Navigate to http://oud-hostname:port/odsm.
- Create a connection for the newly created OUD instance and login.
- Trust the certificate.
- Go to the data browser and validate the following:
- When EUS is selected, in addition to creating this suffix, two suffixes are created automatically: “cn=oracleschemaversion” and “cn=oraclecontext.”
- An EUS workflow element is also added in front of the local backend workflow element.
- A DN renaming workflow element for “cn=schema” is added, so that it can be accessed using the “cn=subschemasubentry” DN.
After the OUD has been enabled for EUS, the realm information must be updated in the OUD configuration by performing the following steps:
Locate the LDIF template file at install_dir/config/EUS/modifyRealm.ldif
- Edit the modifyRealm.ldif file as follows:
- Replace dc=example,dc=com with the correct naming context for your server instance.
- Replace ou=people and ou=groups with the correct location of the user and group entries in your DIT.
- Use the ldapmodify command to update the configuration with the edited LDIF template file. For example:
ldapmodify -h oud.ziontech.net -p 1636 -D "cn=Directory Manager" -Z -v -f /opt/app/middleware/Oracle_OUD1/config/EUS/modifyRealm.ldif
With this, we have an OUD instance ready for EUS. The next steps are to prepare the database and create user mappings.
Leave A Comment